
Writing · Hardware
Bootleg Starlink: connecting family properties in rural Australia
A long-haul flight, $0.30/m fibre from AliExpress, and a self-described 'old dog' running 1.5 km of cable through the bush to fix our video calls.
My parents had the same ADSL connection from the early 2000s. It was fine for email. It was useless for video calls, and after I moved overseas, video calls were how I saw them. Every call was a frozen face and a round of “you’re breaking up” and “can you say that again?”
My cousin has a holiday home on the other side of my parents’ property, about 1.5 km away over hilly bush. They got Starlink before our area filled up, and whenever they visited, their internet just worked.
So the plan was to share my cousin’s Starlink with my parents. The hard part was getting a network connection across 1.5 km of hills and gum trees.
Picking the cable
I already had a trip home booked, so I spent the long-haul flight and the layovers reading about rural networking. There were three options:
- Wireless point-to-point link. Out straight away. The hills block line of sight, and fixing that means building towers.
- Ethernet cable. Copper Ethernet is rated for 100 m per run. Covering 1.5 km would need more than a dozen repeaters out in the bush, and each one needs power.
- Fibre optic. I assumed it would be expensive and fiddly. Once I read more, it was clearly the most reliable option and the one that would last.
By the time I landed I’d settled on single-pair OS2 outdoor shielded fibre. Then I found it on AliExpress for $0.30 per metre. Local suppliers quoted over $3. A 2 km spool, with spare for slack, cost $600.
What we used
- 2 km spool of OS2 single-mode fibre from AliExpress ($0.30/m)
- Linksys unmanaged switch with an SFP module, at my cousin’s holiday home
- Linksys unmanaged switch and a media converter, at my parents’ place
- High-tensile steel wire and steel braid cable to hang the fibre from
- 2-inch cuts of poly pipe as cable protectors (Dad’s idea, more on that below)
- A 250 m span of high-tensile wire to carry the fibre over the road, from the house to a gum tree
Dad did the install
I ordered the network gear on Amazon and the fibre on AliExpress before I flew back to New Zealand. The network gear arrived quickly. The fibre took two months, long after I’d left.
So my technophobe dad had to install it himself. I drew diagrams with every connection labelled, put together colour-coded instructions with photos, and spent several video calls teaching him the basics of fibre.
He surprised me. He strung high-tensile steel wire between the trees and added steel braid cable, which gave him a support line that was strong but light. Then he had to attach the fibre to it. Cable ties can pinch fibre and break down in the sun, so he cut 2-inch pieces of poly pipe and used them as sleeves where the fibre meets the steel. I hadn’t thought of that.
The road was the hard part. Going under it would have meant road works, so Dad went over it instead, on a 250 m span of high-tensile wire from the house to a gum tree. Telstra’s poles along the road already carry the old phone line, and hanging our fibre from them would have been easier. We decided not to. It’s technically allowed with Telstra’s permission, but it’s a legal grey area, so we kept to our own wire and trees.
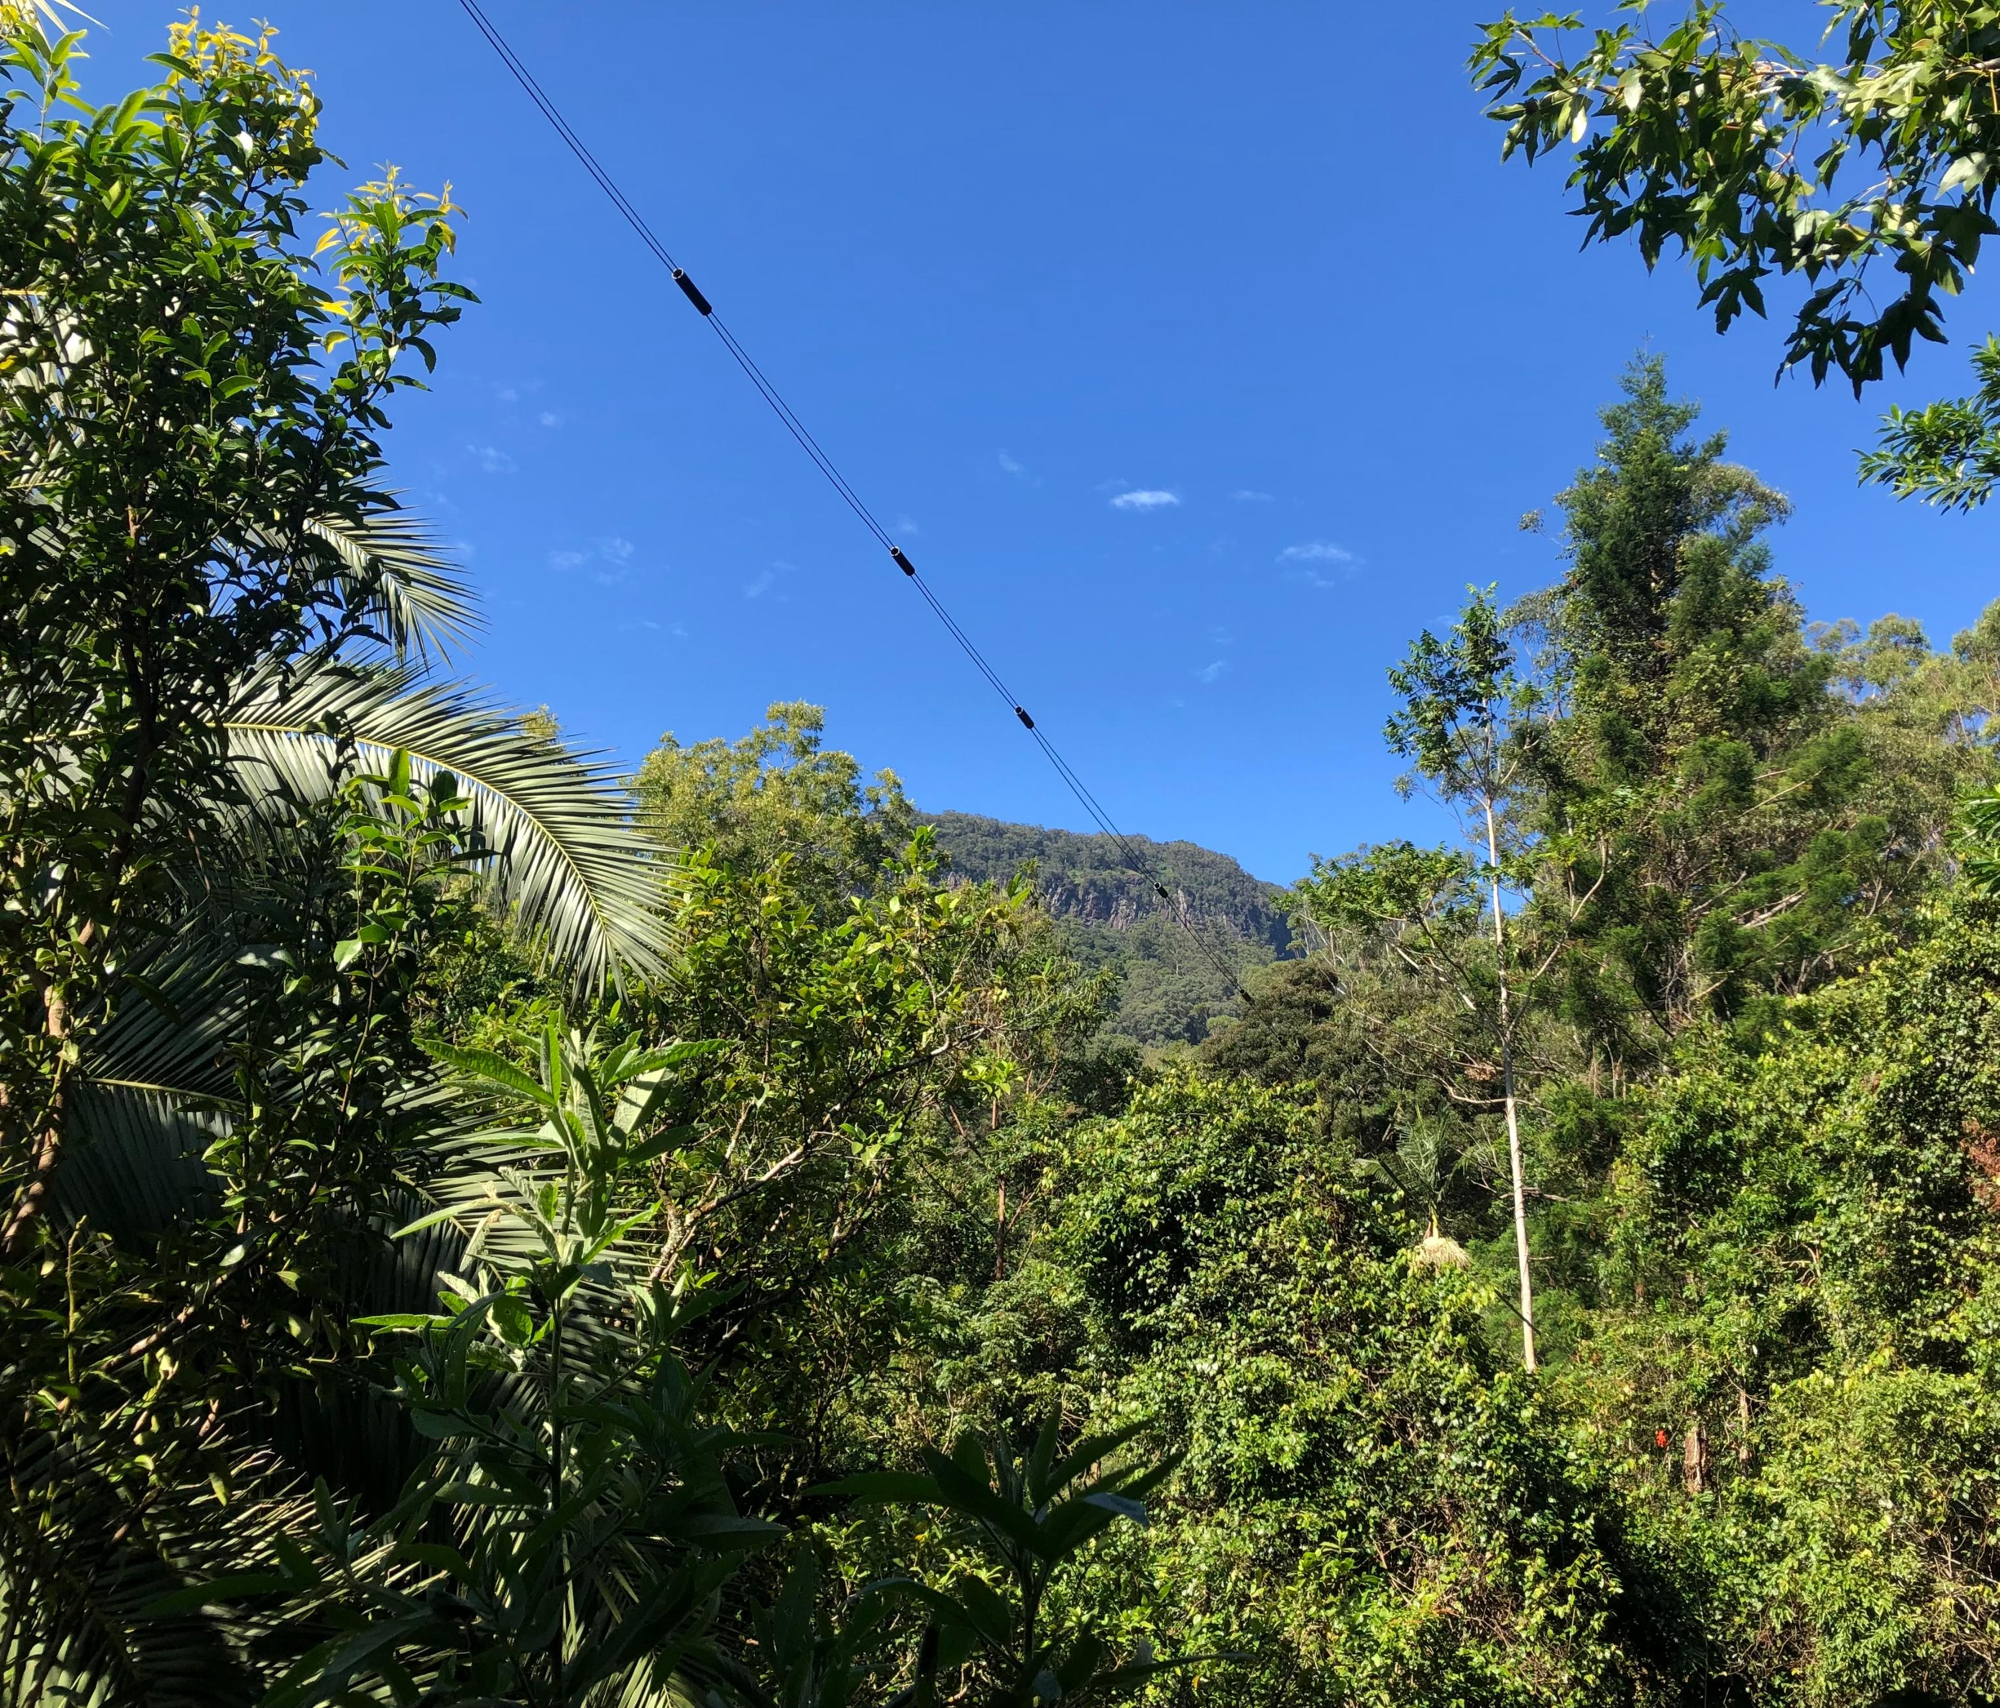
Over one weekend, while I waited anxiously in New Zealand, he ran the full 1.5 km and connected everything by following my diagrams. The unmanaged switches meant there was nothing to configure. Plug it in and it works.
The network
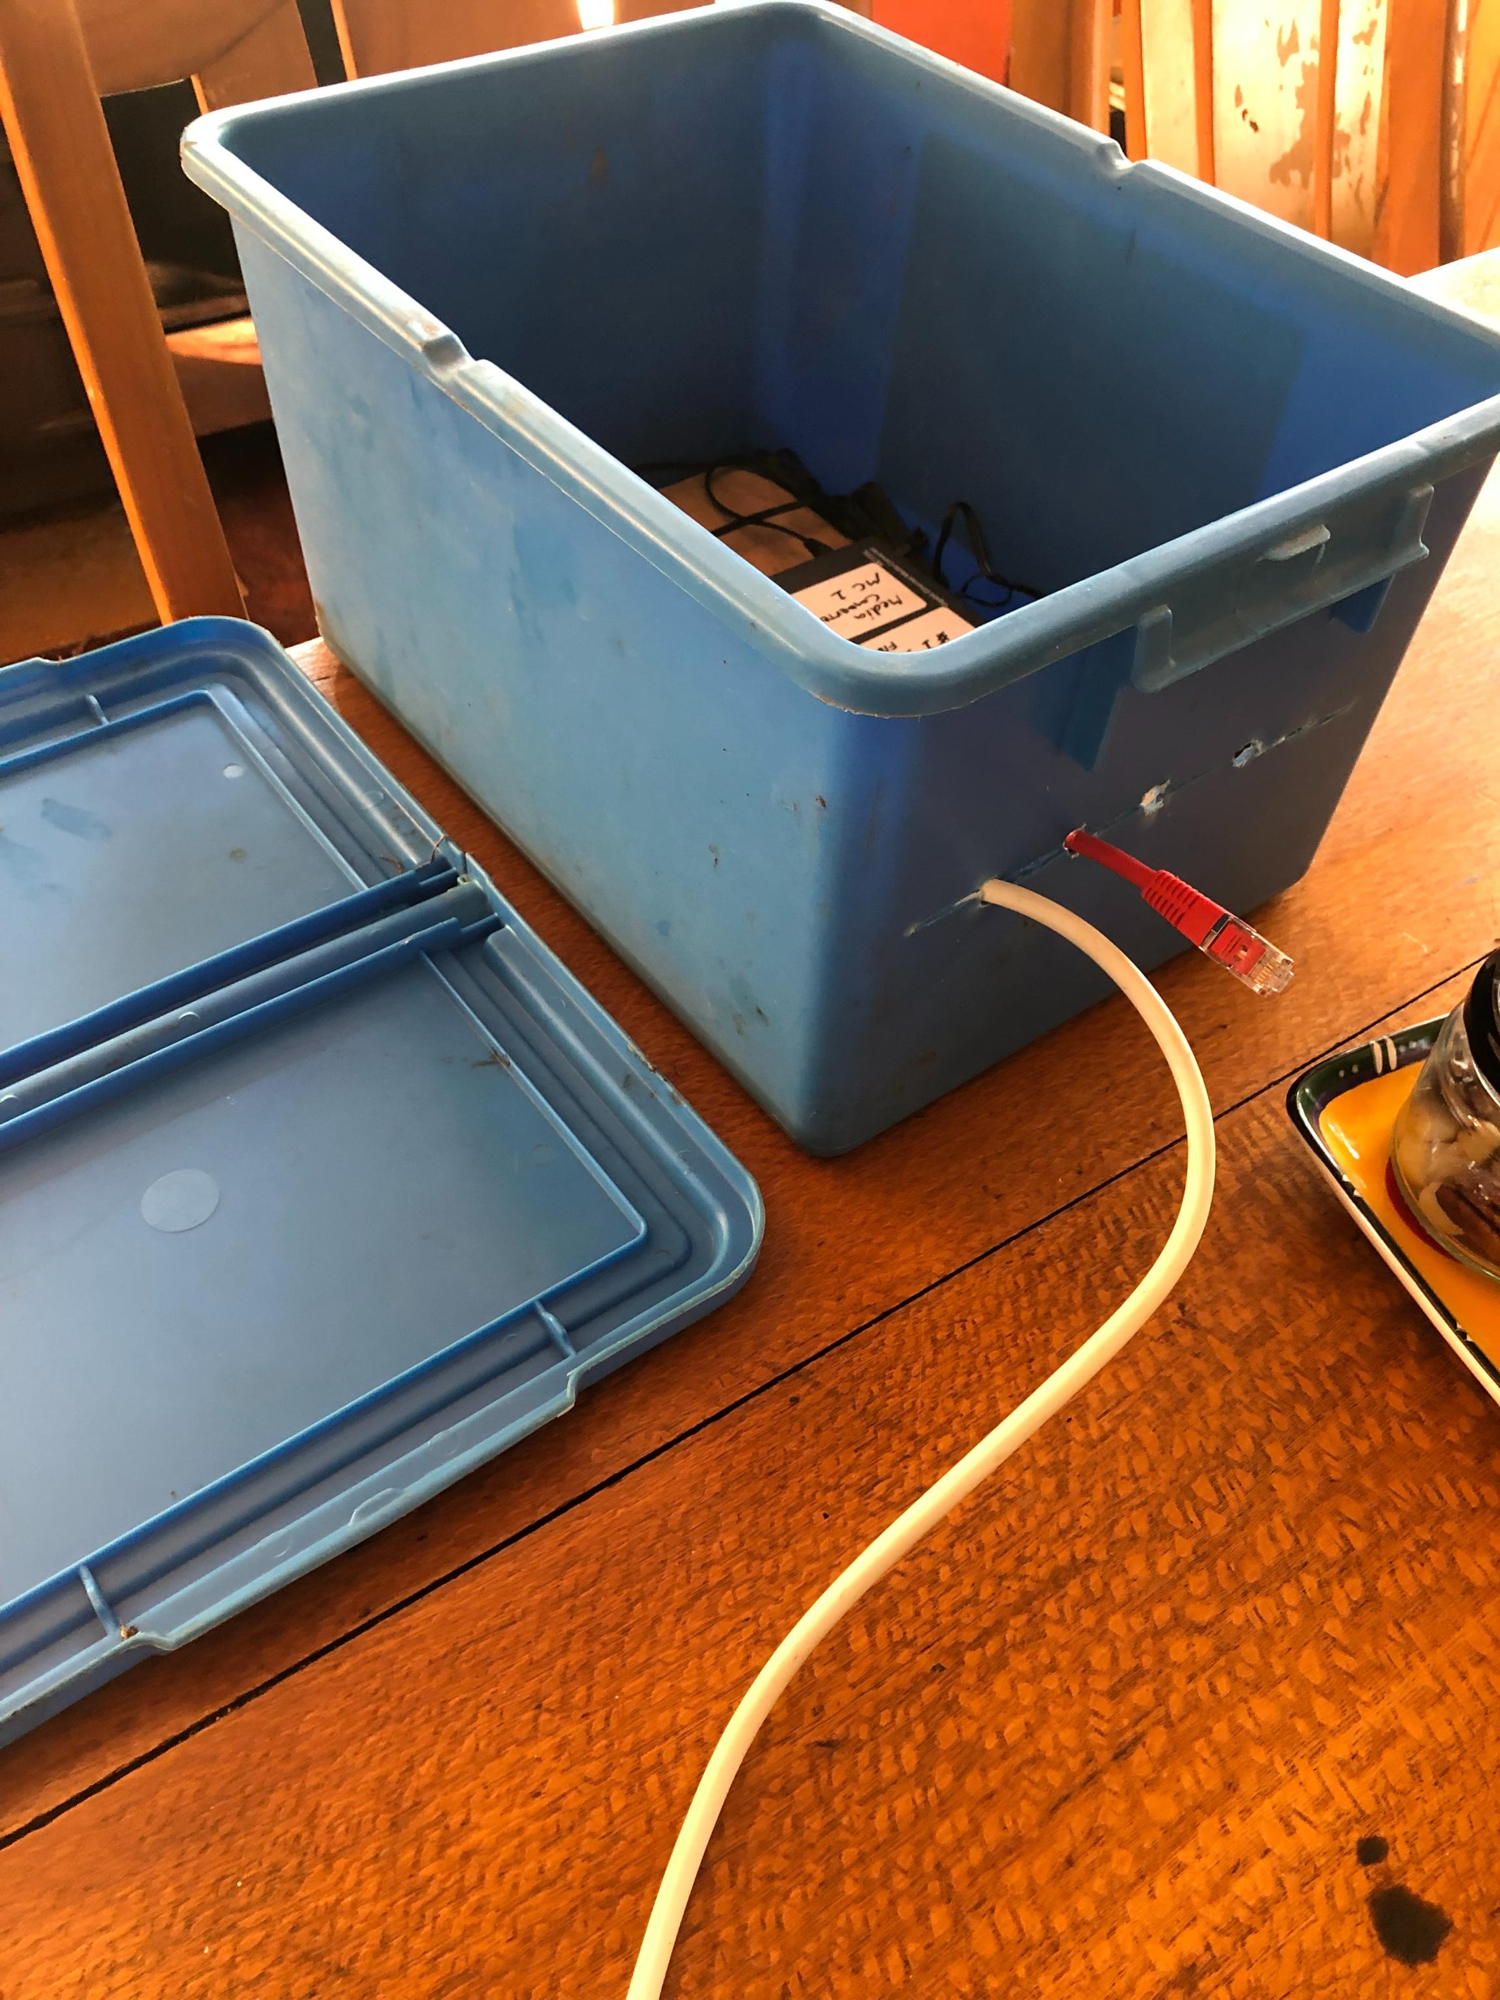
At my cousin’s end, a Linksys switch with an SFP module takes the fibre directly. At my parents’ end, a media converter turns the fibre signal back into ordinary Ethernet for a second switch.
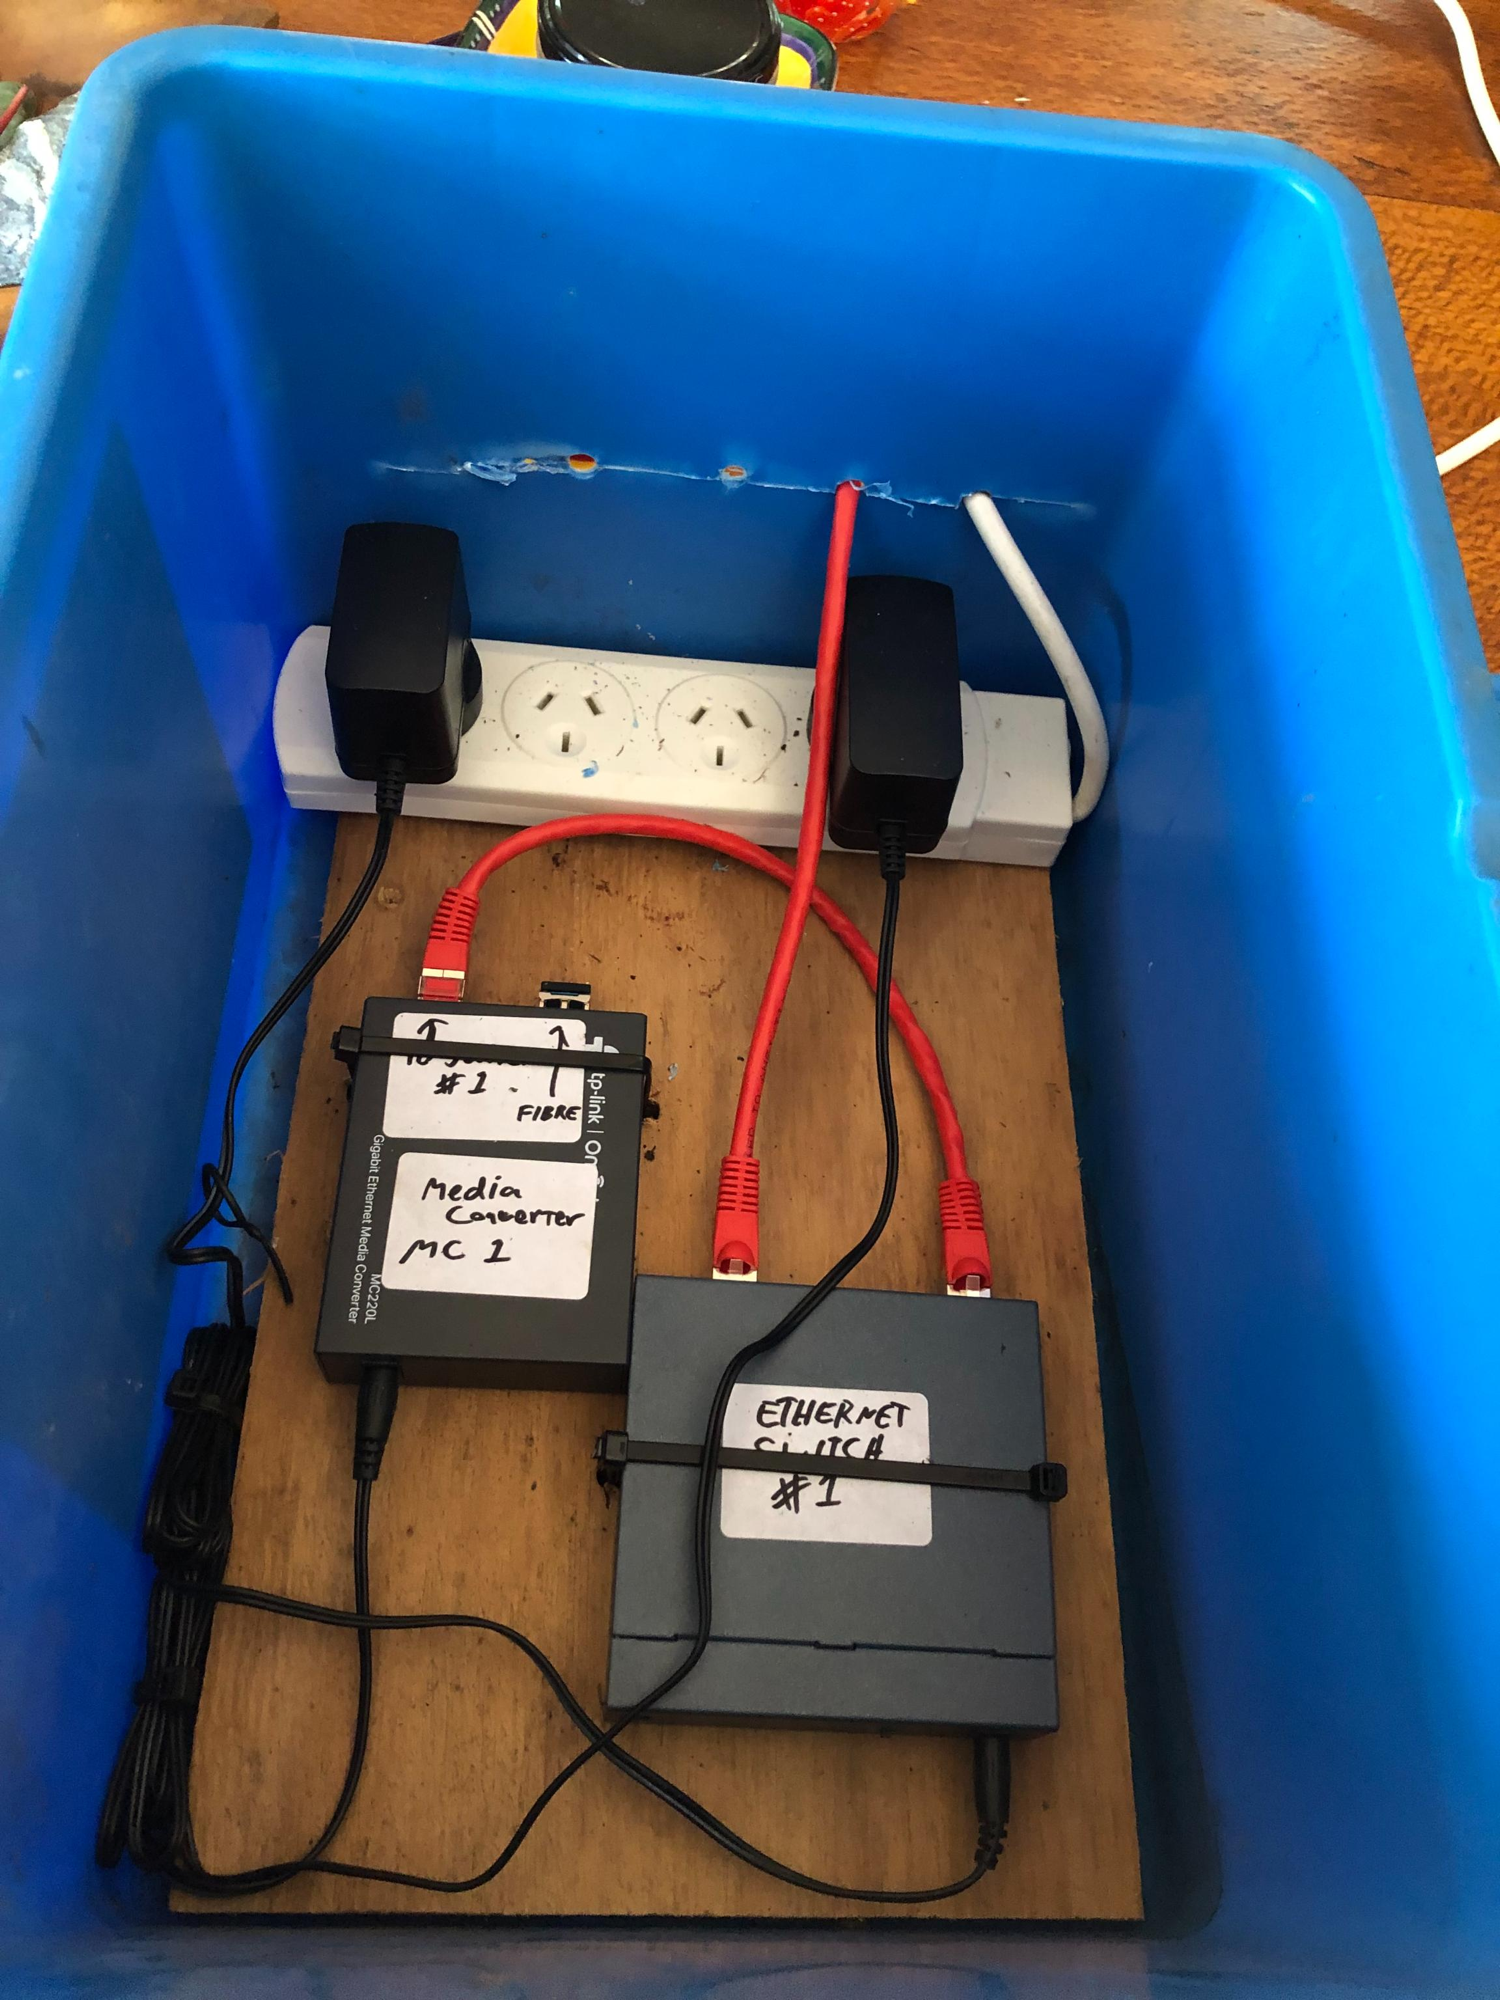
The receiving end runs entirely on solar, so power draw mattered. The switch and media converter together use less than 10 watts, and the battery bank keeps them running for days through cloudy weather.
The results
Dad plugged in the last cable and we tried a video call. The picture was sharp and the sound didn’t drop once. I could see how proud he was, in HD.
My parents went from 3–5 Mbps on ADSL, with almost no upload, to 150+ Mbps down and 15+ Mbps up on the shared Starlink. Our calls are now just calls. When you live overseas, that matters more than any speed test.
The part I didn’t expect was what it did for Dad. He now helps the neighbours sort out their internet. This is a man who used to ring me to find the power button on his computer.
My parents also found streaming. They’d had little beyond broadcast TV, and now they watch Netflix, Disney+ and YouTube. Dad sends me links to documentaries he thinks I’d like.
The fibre has come through several storms without dropping out. The old ADSL line went down whenever it rained hard. The Starlink and network gear also stay on when my cousin isn’t at the holiday home, so my parents are always connected.
What it cost
- OS2 single-mode fibre from AliExpress: $600 (2 km at $0.30/m)
- Linksys switches and media converter: $320
- Tree mounting hardware: $85
- Road-crossing wire and materials: $120
- Miscellaneous networking bits: $90
Total one-off cost: $1,215.
At local prices the fibre alone would have cost over $6,000, and the project wouldn’t have happened. It took two months to arrive, but the quality has been excellent.
My parents chip in towards my cousin’s monthly Starlink bill. It costs them less than the ADSL did.
Is this allowed?
Starlink’s residential plan prohibits reselling the service. We don’t resell it. We extend a home network between two family properties, which is no different from a very long Ethernet cable, minus the wallabies chewing through 1.5 km of copper.
If you want to try this
- Use single-mode OS2, not multi-mode OM3. Past about 500 m, OS2 is the right choice, whatever some sellers tell you.
- Check AliExpress. $0.30 a metre against $3+ locally. Allow for slow shipping.
- Use unmanaged switches if someone non-technical is doing the install. Nothing to configure means nothing to get wrong over a video call.
- Over-document. Colour-coded diagrams and labelled photos are why Dad could do this without me there.
- Use poly-pipe sleeves, not cable ties, where the fibre meets the support wire.
- Cross roads overhead, on your own wire. Going under a road means road works. The phone company’s poles need their permission.
- Hang the fibre from a support wire instead of fixing it straight to the trees. High-tensile wire plus steel braid is strong and light.
- Plan for shipping delays of a couple of months on international orders.
- Test every part before you fix it in place.
Why it mattered
I wanted better video calls with my parents, and I got them. I also got something I didn’t plan for. Because I had to teach Dad the install from another country, we spent those calls working through diagrams together, and the project brought us closer before the fibre was even connected.
It took some reading on a long flight, a spool of very cheap fibre, and a self-described “old dog” willing to learn a new trick.